
How to read a crochet pattern is the foundational skill that transforms your yarn stash into wearable garments, sturdy accessories, and charming handcrafted keepsakes. While a printed pattern can look like a baffling wall of symbols and shorthand at first glance, every designer follows consistent, structured rules. Once you learn how to read a crochet pattern systematically, you will be able to follow any modern digital guide with clarity, ease, and total confidence.
Table of Contents
Why Learning How to Read a Crochet Pattern Unlocks Your Creativity
Understanding how to read a crochet pattern empowers you to craft far beyond basic repetitive scarves. When you can interpret row notes, repeat symbols, and sizing charts, a whole universe of indie designer patterns opens up to you. According to the historical archives of Wikipedia’s guide to crochet, printed stitch instructions have evolved across two centuries to give makers universal clarity across languages and cultures.
Modern digital patterns streamline this experience with color-coded instructions, sizing tables, and photo supplements. Before you begin crocheting our crochet bag patterns or tackling detailed crochet accessories patterns, having a clear grasp of how to read a crochet pattern ensures your final fabric matches the designer’s original vision.
Step 1: Decoding the Anatomy of a Modern Pattern
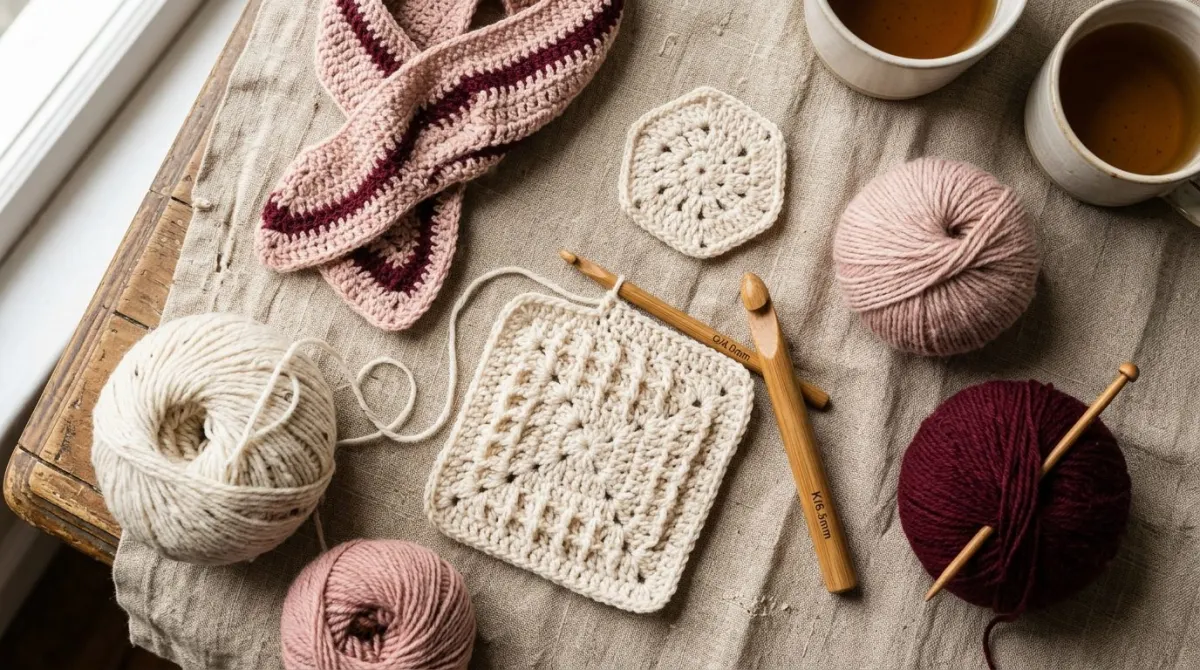
Before jumping into stitch one, pause and inspect the overview section of your pattern. A thoughtfully written pattern starts with a comprehensive header containing materials, finished measurements, suggested hook sizes, and required notion items.
The materials section specifies yarn weight category, fiber blend, and yardage. Always consult the official standards published by the Craft Yarn Council standards to verify the standard yarn weight number (from lace weight #0 to super bulky #6). Knowing the exact yardage prevents running out of matching dye lots halfway through your sweater.
Step 2: Demystifying Common Crochet Abbreviations
Pattern designers use standard abbreviations to keep instructions compact and scannable. Without abbreviations, a simple throw blanket pattern would span hundreds of pages. Here are the core building blocks you will encounter on every project:
- ch: Chain stitch (the base foundation of nearly all work)
- sc: Single crochet (dense, sturdy, ideal for amigurumi and bags)
- hdc: Half double crochet (versatile with beautiful stitch ridge texture)
- dc: Double crochet (open, drapey, faster working height)
- tr: Treble crochet (tall stitch creating lace and openwork)
- sl st: Slip stitch (used to join rounds or create smooth invisible seams)
- yo: Yarn over (wrapping the yarn around your hook before pulling through)
- sk: Skip (bypassing the next stitch to create an opening or space)
When studying how to read a crochet pattern, keep a quick cheat sheet next to your crafting chair until these shorthand terms feel like second nature.
Step 3: Mastering Brackets, Parentheses, and Asterisks
Punctuation in crochet patterns serves as musical notation, instructing you when to repeat stitch sequences or work multiple stitches into a single space:
Asterisks (*): Indicate a repeat across a section. For example, “*2 sc, inc; rep from * to end of round” tells you to crochet two single stitches followed by an increase, repeating that exact sequence until reaching the end.
Parentheses (): Usually denote stitches worked together in the same stitch or chain space, such as “(sc, ch 1, dc) in next st”. Parentheses are also used at the end of a row to display total stitch counts, e.g., “(36 sts)”.
Square Brackets []: Often indicate complex repeated sequences repeated a designated number of times, like “[ch 3, sk 2, sc in next st] 4 times”. In size-graded garment patterns, brackets denote instructions for larger sizes (XS, [S, M, L], XL).
Step 4: Measuring Gauge for a Perfect Fit Every Time
Gauge is the number of stitches and rows per 4 inches (10 cm) of crocheted fabric. Skipping the gauge swatch is the number one cause of garments turning out three sizes too large or blankets coming out stiff as cardboard.
Always crochet a 5×5 inch sample swatch using your project hook and yarn. Wash and block the swatch exactly as you plan to care for the finished piece, then lay a hard ruler flat across the center. If you have fewer stitches than the pattern specifies, your tension is too loose—switch to a smaller hook. If you have too many stitches, your tension is too tight—switch to a larger hook.
Step 5: Differentiating US vs UK Crochet Terminology
One common trap when learning how to read a crochet pattern is confusing American and British terminology. A single stitch name can mean completely different techniques depending on the designer’s country of origin:
- US Single Crochet (sc) = UK Double Crochet (dc)
- US Double Crochet (dc) = UK Treble Crochet (tr)
- US Half Double Crochet (hdc) = UK Half Treble (htr)
- US Treble Crochet (tr) = UK Double Treble (dtr)
Before pulling a single loop, verify whether the designer uses US or UK terms in their notes section. All patterns here at By Luanda use standard US terms for clean consistency.
Step 6: Counting Stitches and Working Turning Chains
Turning chains elevate your hook to the height of the upcoming row before turning your fabric. The pattern notes will explicitly state whether the turning chain counts as the first stitch of the row or simply as a turning aid.
If the turning chain counts as a stitch, you skip the very first base stitch and work your final stitch of the next row into the top of the turning chain. If it does not count, you work into the very first base stitch and ignore the turning chain when counting your total row stitches. Counting your stitches at the end of every row prevents accidental triangles and slanted edges.
Step 7: Conquering Your Very First Row with Confidence
When you are ready to start, read Row 1 and Row 2 completely before picking up your hook. Place a locking stitch marker in the first stitch of the row and the last stitch of the row. This simple habit guarantees crisp, straight borders without frustrating unraveling.
For your first practice project, we recommend pairing this guide with our detailed breakdown on the best yarn for beginners to select smooth fibers that do not split or fray under tension.
Troubleshooting Common Beginner Pattern Mistakes
Even seasoned crafters occasionally miscount or miss a turning repeat. If your project begins curling tightly, check whether your foundation chain is too tight—crocheting your initial chain with a hook one half-millimeter larger than your main project hook easily solves this problem.
If your stitch counts keep shrinking row by row, you are likely missing the final stitch hidden in the top turning chain. Taking the time to master how to read a crochet pattern guarantees that every minute spent with your hook yields a gorgeous, heirloom-quality result you will cherish forever.

